Showing posts with label Stomach Therapy. Show all posts

Friday, January 7

Never Cook Anything Delicious: Part 3

Broccoli Pomegranate Salad

This is a pomegranate. Pomegranates and I have a brief but delicious past. I didn't even know they existed until a couple Christmases ago. The Christmas of no diary. Let me tell you, a dairy free Christmas will kill your holidays. Out of compassion my mom made broccoli pomegranate salad and it single handedly saved my holiday cheer. Thank you, mom.


Last Christmas, I made it for Ryan's family out in California at his grandparents' place. The thing about making it out there is, you can walk out into their yard and pick half the ingredients off the trees yourself. Like the pomegranate and oranges. And I did. And not just for this recipe.
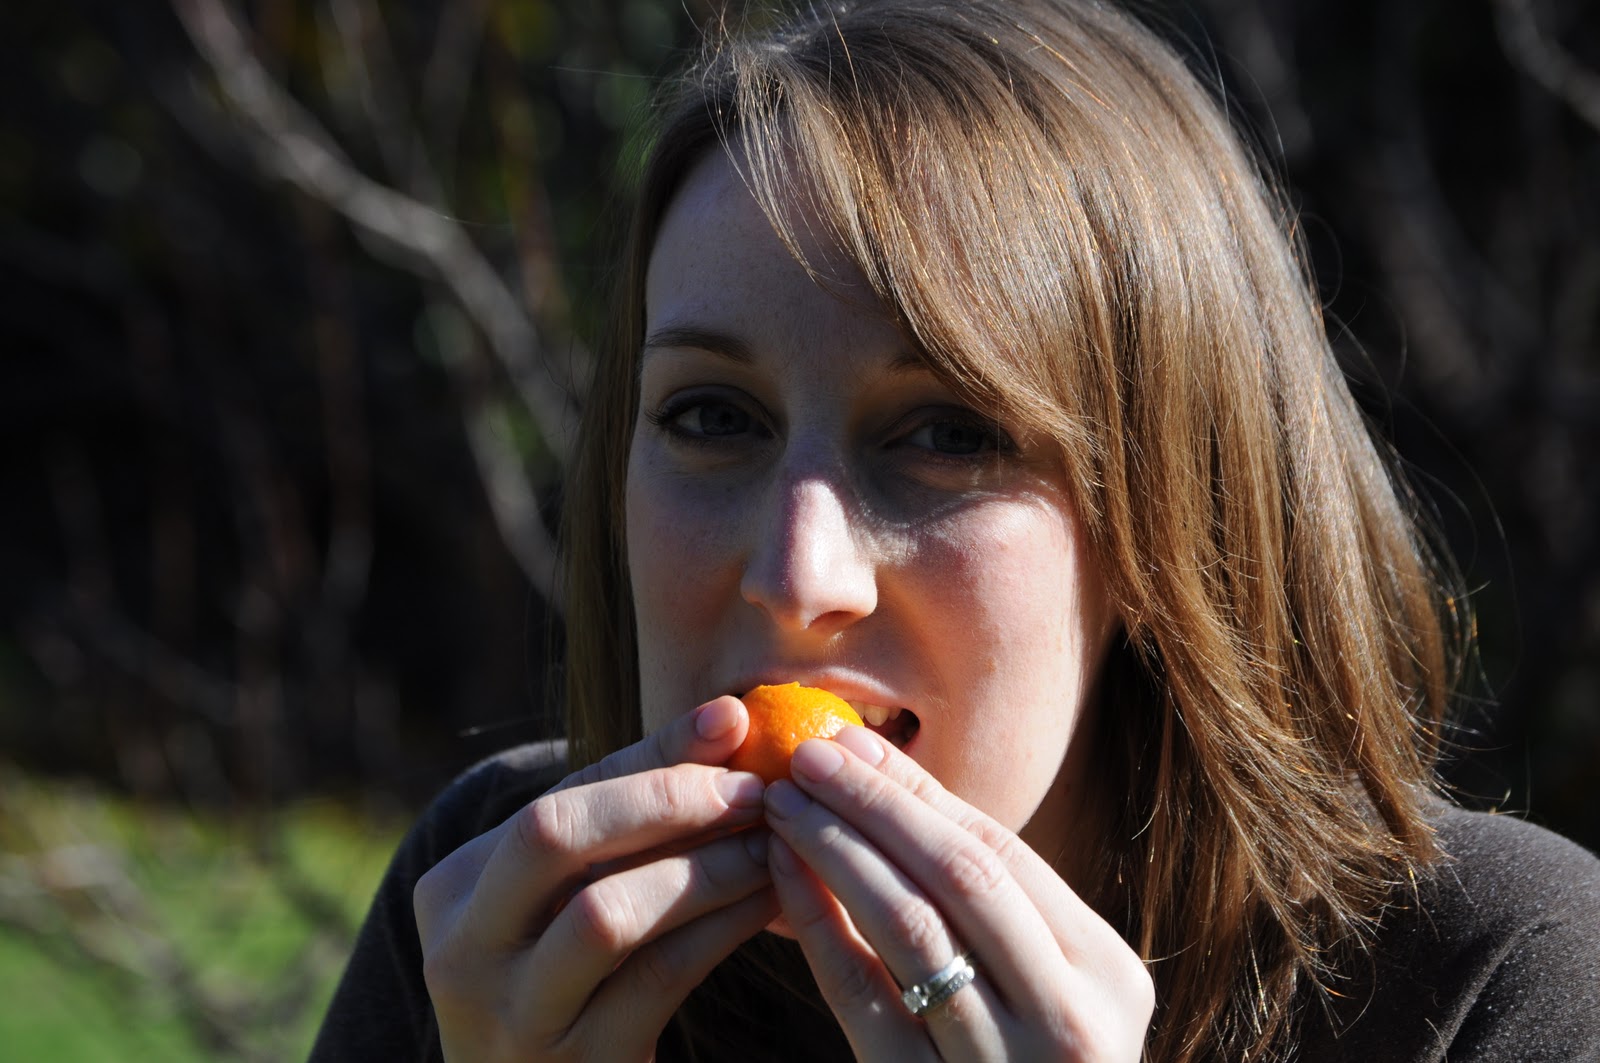

Deprived little Midwesterner that I am, I kinda of went crazy picking and eating fruit everyday. They probably thought they had some kind of monkey infestation when they saw their trees.  I had Ryan document my bliss. I kinda look like a monkey.


Getting a bit nostalgic here. Did I mention it was Christmas? A beautiful sunny Christmas? Surrounded by mountains and gloriousness?


And fresh fruit?... off the trees? 

And there was bliss?                            and glee?                             and euphoria?


*sigh* I miss California.

I'm digressing. Even if you can't pick the ingredients of the tree, this salad is still super delicious. 
After much rambling, the recipe.

Note: You gotta make it this time of year because pomegranates are in season and hard to come by otherwise.

Add together:
3 cps  of broccoli chopped in small pieces
seeds from one pomegranate (see below for help with seeding it)
2 Tbsp red onion, chopped
2 large oranges chopped
1/2 c sunflower seeds


Mix together:
1/2 c mayo or miracle whip
1/2 c orange juice
2 Tbsp sugar
1/2 tsp salt
Dash of pepper

Combine and toss all the above.

And voila! California and bliss and glee and euphoria in a bowl! 


Thursday, December 16

Never Cook Anything Delicious: Part 2

My Mom's Stuffed Mushrooms

I can't tell you how happy these little mushrooms make me. Butter, cream cheese, bread crumbs, dill and garlic.... oh the gloriousness. I'm salivating all over the keyboard! Ah! I think I need to make these sooner than later. 


Note: My mom's recipe is a bit vague. Making these mushrooms is rather like an art form. But I took lots of pictures so you could learn the way I did. By sight. And taste... but that was just impossible to share. I tried smearing them all over the screen and it just didn't translate.

Start with your mushrooms. You'll want to buy at least 3 good size packs and you'll want to choose larger mushroom that are good for stuffing.


Give them a good scrub in cool water. 
Gently pop out the stems and set them aside. You can also set aside the dinky little mushrooms that are no good for stuffing.
Start melting 1 stick of butter in a frying pan.
 In a food processor chop up your stems/small mushrooms and add them to the pan of butter to cook. 

Doesn't look so good yet, but just wait! It gets better!


Now add some cream cheese and let it melt.


Add garlic powder. Here's where it gets vague. There is no really measurement for this. Mom just tells me, "It needs to look like this", and she points to the pan. You have no idea how frustrating this was for me at first! But it's like a nice little dusting. Or a big dusting if you like garlic!


Now for my favorite part, the DILL! Again, no real measurement. My mom says, "Make it look like grass." I'm telling you, it's an art form.


Last, you add in your Italian bread crumbs. And you guessed it, no real measurement here either. You want the crumbs to absorb some of the liquid, but not too much. This is where you make or break the recipe. It's this perfect consistency you go for. Moist but not too moist. Once you've got it, you're ready to STUFF! 


Pile them in a microwave safe bowl and seal them up real good with saran wrap. Microwave them for 12 minutes and SERVE!

Wednesday, December 15

Never Cook Anything Delicious: Part 1, Strawberry Pretzel Dessert

Holiday Cooking Rule #1: 
Never cook anything delicious.

If they love it, you'll be asked to cook it every year. Ask my poor mom. Her repertoire of frequently demanded dishes is growing. She cooks so well, and we all love it so much, she has to start cooking days ahead of time just to get it all ready.  But maybe you like that kinda of thing, so this year, as her little Sue Chef, I ran around the kitchen snapping pictures of her most beloved recipes so I could share them with you! 

Part 1: Strawberry Pretzel Dessert
Part 2: Stuffed Mushrooms
Part 3: Pomegranate and Broccoli Salad

Thanks, Mom, for making holiday dinners special and delicious. And for not yelling when I ran away with what you were cooking in search of the perfect lighting for the pictures!  Love you.


Part 1: Strawberry Pretzel Desert

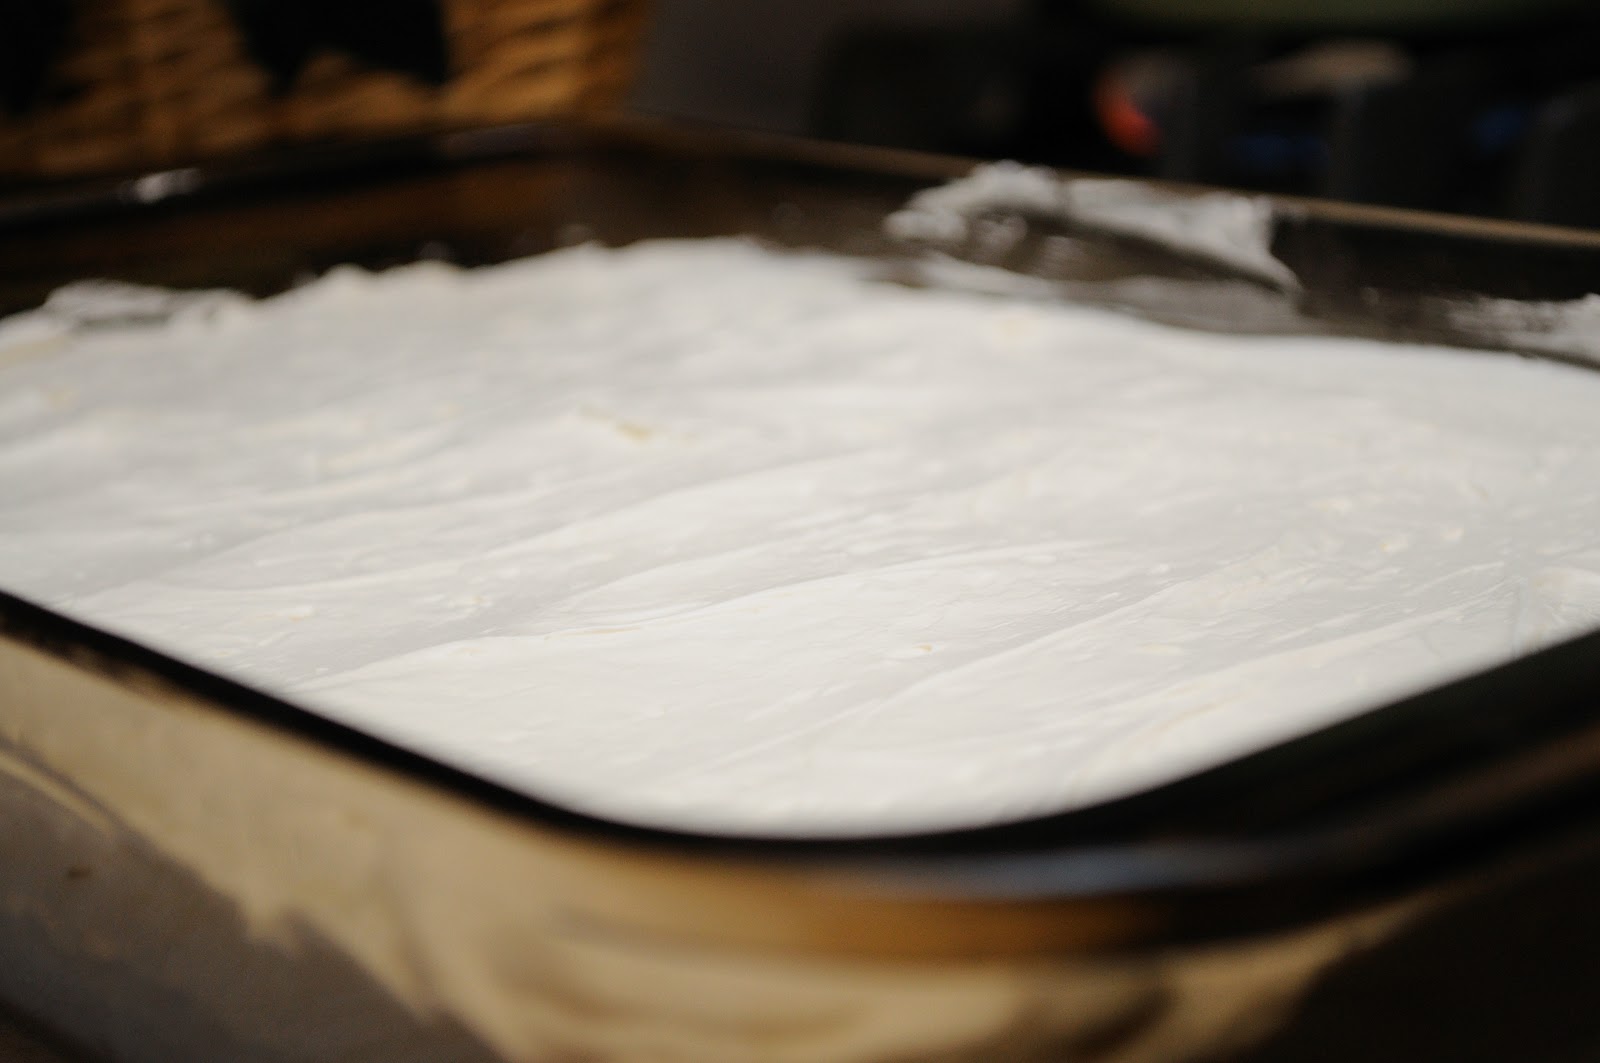
Sidenote: This picture was taken before my baby cousins who really aren't babies anymore and who are ravenous teenagers ate most of this dessert, you punks! Punks that I love... even if they ate all my dessert. And I had to beat them off for the one piece I did get.


Bottom Layer
Mix together:
2 c. crushed baby pretzels
1/2 c. sugar
3/4 c. melted butter
Press them into a greased 13x9 pan. Bake at 350 for exactly 9 minutes. Set aside to cool. (Stickin ‘em outside in the cold always works!)

 
Middle Layer
Cream together:
-8 oz. of cream cheese
-1 c. of powdered sugar
Gently whip in:
-9 oz. of cool whip
Spread evenly over the cooled pretzels. Use the middle layer to completely seal off the bottom layer. You don’t want the top layer to leak down and make the pretzels soggy.


Top Layer
Mix together:
-6 oz. box of strawberry banana Jello
-2 c. boiling water
Then chop and add:
-1 bag of slightly defrosted strawberries
Allow to thicken and then pour over middle layer.
Chill.


Sunday, October 3

Three Bean Tacos

Beans. Beans. The more you eat the more you toot. And I've had lots of friends wondering how they can toot their way through more beans.

So today, I'm sharing one of our favorite bean meals. It's super fast and easy to clean up after. Love that! Plus, it's really tasty! Oh and I almost forgot. The recipe makes a ton which is great when you have two hungry hungry hippos. Ps. My husband is the handsome hand model in the picture. He's a good sport!


The Recipe:

1 tsp of oil
1 c diced onion
1 c diced green/red bell pepper
1 clove minced garlic
1 Tbsp chili powder
2 tsp dried oregano
1 tsp cumin
1 can of drained chick peas
1 can of drained black beans
1 can of drained pinto/kidney beans
1 can tomato sauce (8 oz)

Heat oil in skillet and saute onion, peppers,
and garlic until soft.
Add the rest of the ingredients and mix.
Heat and serve with taco shells and fixings.


Tips:

You're already on your way to a healthier meal. Did you know that substituting plain or greek yogurt for sour cream is a tasty way to make it even healthier? I was skeptical, but we really liked it and have been trying the switch with lots of other meals too!

We like to enjoy this meal family style. We serve up all the fixing on the table, so you can build more tacos for the kiddos without getting up a bunch.


Saturday, August 7

Zucchini Enchiladas

I imagine these enchiladas were first made weeks after a bountiful zucchini harvest. After bags and bags of zucchini had been given to neighbors. After the novelty of zucchini breads, and zucchini muffins, and zucchini ice cream and zucchini meatloaf wore off. When finally the only thing left to bake with zucchini was... the enchilada. That day was a blessed day! A zucchini-rific day.


The filling is a fresh mix of zucchini, kidney beans, onion, corn, fresh cilantro, and Mexican cheese. It's topped with a mix of heavy whipping cream, milk and your favorite salsa.


Thee Recipe

The Filling:
1 Tbsp olive oil
1 lrg onion (diced)
1 lrg zucchini (sliced and then quartered)
1 c. of corn
1 15oz can of kidney beans (drained and rinsed)
1 4oz can of green chiles (drained)
1 tsp dried oregano
2 Tbsp fresh cilantro (chopped finely)
1 c. shredded Mexican cheese
    salt and pepper to taste

The Sauce: 
1 1/2 c. your favorite salsa
1/2 c. heavy whipping cream
1/4 c. milk

8 tortillas
1 c. shredded Mexican cheese


1. Heat oil and saute onions. After 2 minutes add zucchini. Saute until both are tender (8 minutes?). Mix in corn, beans, chiles, oregano, and cilantro. Season to taste. Set aside to cool.
2. For sauce, combine salsa, cream, and milk in a bowl.
3. Preheat oven to 350 and lightly oil two 13x9 pans. Spread a thin layer of the sauce at the bottom of the dish.
4. Mix 1 cup of cheese with cooled filling. Spoon 1/8 of the filling into each enchilada laying them seam side down in the pan.
5. Pour sauce over enchiladas and sprinkle with remaining cheese. Cover with foil and bake 25-30 minutes. I like to let it bake the last 5 without the foil.

6. Enjoy!

Thursday, July 29

Tuna Presto


I've been meaning to share this recipe with my friends because it's fast, easy, and relatively tasty! Not to mention very gentle on your budget. It's one of my staples for a busy week.

I just take a Tuna Helper dinner and gave it steroids in the form of more tuna and a whole bag of frozen veggies.


Just toss everything in the pot and cook.


Might be tasty to add some crushed Ritz cracks or bread crumbs on the top.

Hope it helps!


Friday, July 9

Some Summer Salad Ideas

 Salads can be another great way to allow for your kids' individual preferences. Unless they strongly dislike all vegetables, but even then I have some ideas to get them involved. Salads are also a nice summer alternative to hot meals.


Barbecued Chicken
and Steak Fries Salad
One of our favorite summer salads with a hidden surprise at the bottom

shredded carrots, cucumbers, tomatoes, corn, red onions, black beans, boiled eggs, shredded cheese, your favorite variety of lettuce,  barbecued chicken, ranch dressing and/or barbecue sauce
The Hidden Secret: at the very bottom, steak or seasoned fries (the thick kind)

      
Getting Started
       
       Start by creating a building station with all the ingredients set out. Warning: This does get a lot of bowls dirty. Then allow each person to build their own salad. You can create goals like, "everybody has to have at least three veggies"  or for the little guys, allow them to pick their toppings and you build. I always chopped the lettuce up real tiny for our boys. The magic is, it sticks to the other foods in the salad and they don't realizing they're eating it. If you've got kids that hate lettuce, be sure to have lots of other veggies they do like and just let them substitute. It'll still taste great and a veggie's a veggie.


Other Salad Ideas


  • Save time and energy. Next time you barbecue, throw extra chicken on the grill that you can slice and chill for your salads the following night.

  • Try marinading your chicken in olive oil and mesquite seasoning before you grill. It gives it an excellent summer flavor. 
  • Who says all salads have to be topped with veggies. Try slices of pears or apples. We love to add blueberries, strawberries, and mandarin oranges too. Nuts like walnuts, pecans, and sliced almonds go great with fruity salads as well as cheeses like feta, blue, and mozzarella. Dress them up with raspberry vinaigrette or poppy seed dressings.

Wednesday, July 7

Bonding Over Pizza


Turns out making pizza with my preschooler was a great way to bond with him. Even better, was enjoying the fruits of our labor together. Mmmmmmm homemade pizza.

Pizzas are an easy way to get even young kids involved in making dinner. They are also great for allowing individual preferences as each kid can add their favorite toppings to their half of the pizza.

Get the kids involved
  • I let my preschooler use a butter brush to brush on the sauce. It was a little messy (wish I would have made him take his shirt off) but he really enjoyed helping and that's what I was going for.
  • He helped sprinkle the cheese and pile on the toppings, too.
Our favorites toppings
  • Sometimes we use your standard pepperoni and other times we get creative with sausage or even chicken.
  • It's worth the extra couple of cents to buy a can of pizza sauce. They make it taste soooo good.
For a healthier pizza
  • Use Boboli's whole wheat thin crusts which you can find at your local grocery store OR if your super domestic, make your own whole wheat dough.
  • Use lots of veggies. I've even thrown fresh spinach leaves under the cheese. Shhhhh don't tell my kids!